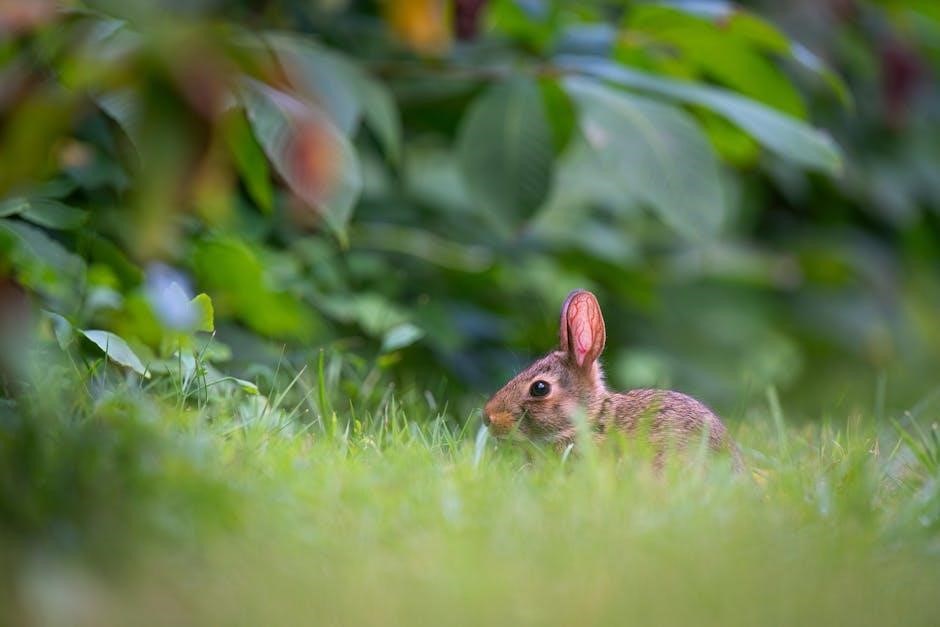
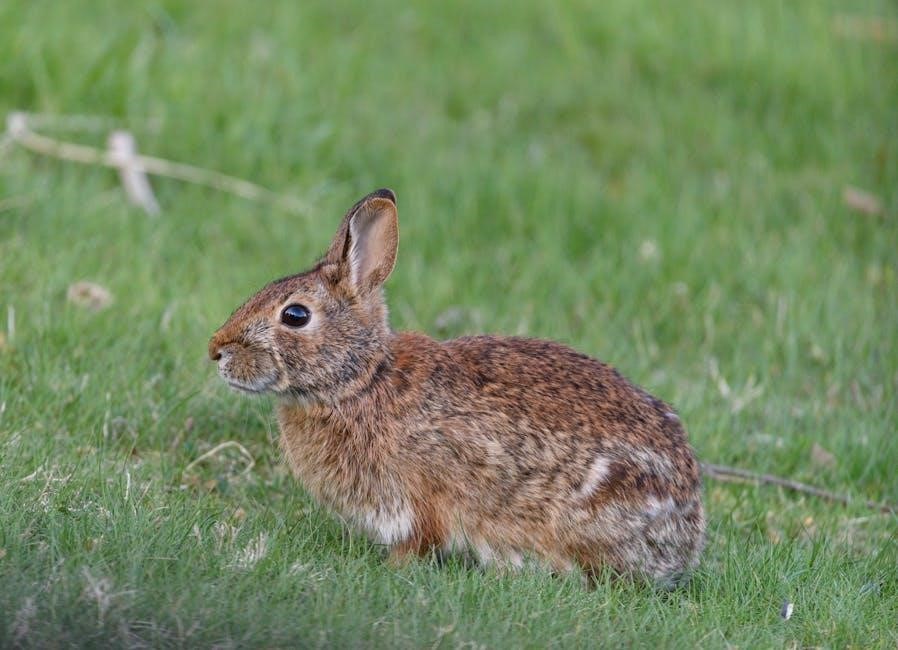
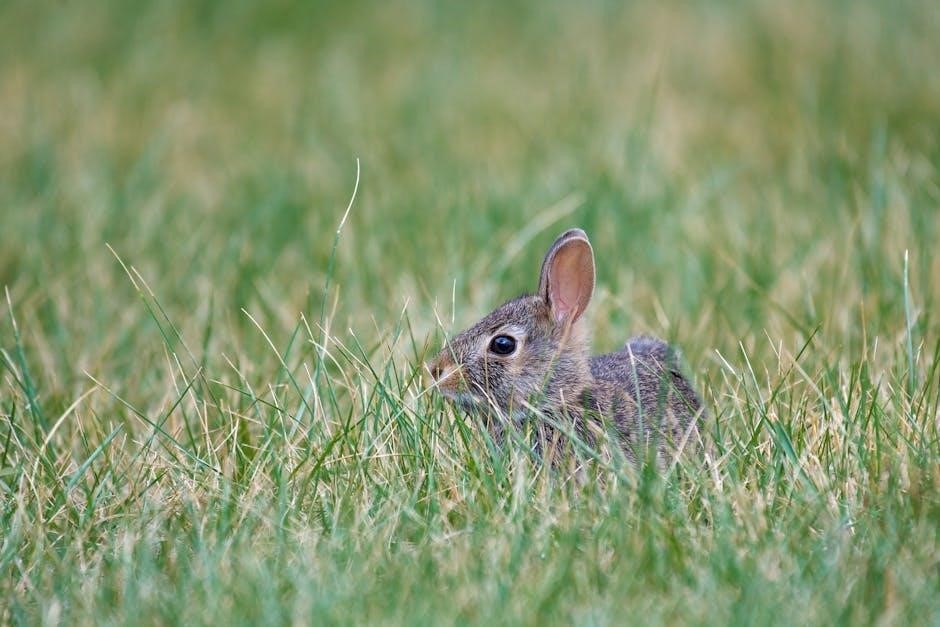
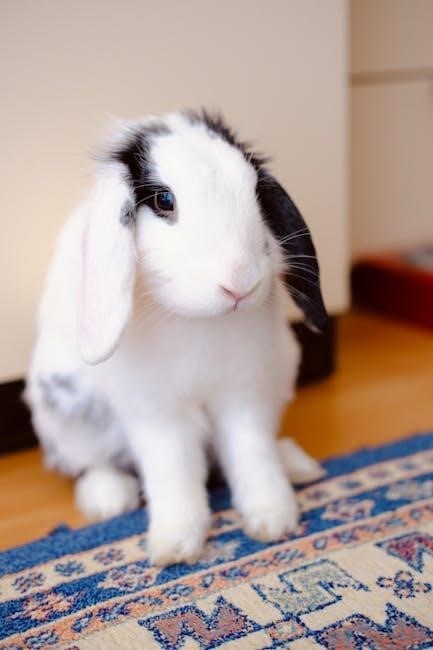
Craft an adorable long-eared bunny with this free PDF crochet pattern, perfect for all skill levels. Create a charming companion for gifts or home decor with step-by-step ease.
Overview of the Pattern
This free PDF crochet pattern is designed to create an ADORABLE long-eared bunny, perfect for beginners and experienced crocheters alike. The pattern provides a step-by-step guide to crafting a soft, cuddly bunny with distinctive long ears. It includes instructions for crocheting the head, body, ears, and limbs separately, which are then stitched together. The pattern is versatile, allowing the use of various yarn types and colors. The final bunny is approximately 15cm/6 inches in size, making it a charming gift or home decor item. The PDF is available for free download, offering clear instructions and photos for a seamless crocheting experience.
Why Choose a Long-Eared Bunny Pattern?
The long-eared bunny crochet pattern is a timeless choice for crafters, offering a delightful combination of charm and customization. Its distinctive long ears add a touch of personality, making it a standout project for gifts, home decor, or personal enjoyment. The pattern is versatile, allowing you to choose from various yarns and colors to create a unique bunny that suits any occasion. Whether you’re making it for Easter, a baby shower, or just for fun, this pattern ensures a cuddly and adorable result. Its clear instructions make it accessible to all skill levels, while its customizable design lets you add your own creative touches.
Materials and Tools Needed
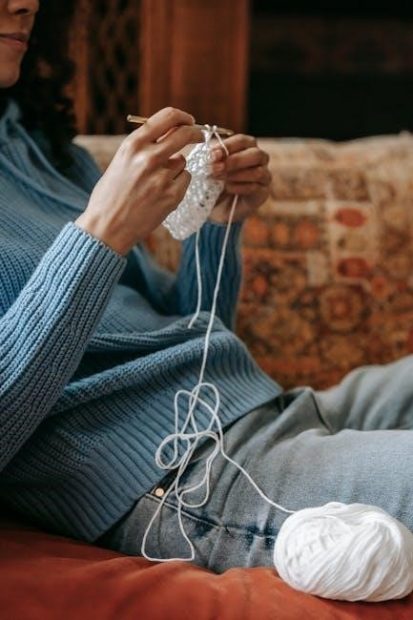
Gather essential materials like soft yarn, a crochet hook, polyester stuffing, tapestry needle, scissors, stitch markers, and measuring tape to start your bunny project.
Yarn Selection for the Long-Eared Bunny
Choose soft, plush-type yarn for a cuddly texture, such as acrylic or blends. White or light-colored yarn is ideal for a classic look, while pastels add charm. Consider Lion Brand LB Collection Natural Wool or James C Brett Flutterby for durability and softness. Yarn weight should be medium to ensure the bunny is sturdy yet snug. Select a color that matches your desired aesthetic, from neutral tones to vibrant hues for a personalized touch. Ensure the yarn is suitable for amigurumi stitching, as tighter fibers create a neater finish. Pair with a compatible hook size for optimal results.
Crochet Hook Sizes
Use a 3.5 mm (E) or 5.5 mm (I) crochet hook for this pattern, depending on the yarn weight. A smaller hook ensures tighter stitches, ideal for amigurumi. Choose a hook size that complements your yarn choice, as larger hooks create a looser fabric. For a standard long-eared bunny, a 3;5 mm hook is recommended for medium-weight yarn. Ensure proper tension for even stitching and a professional finish. If unsure, start with the suggested size and adjust based on your yarn and stitching style. Proper hook size ensures your bunny has the right proportions and texture.
Stuffing and Other Supplies
Use polyester fiberfill stuffing to give your bunny a soft, cuddly texture. A tapestry needle is essential for weaving yarn ends and sewing seams. Black embroidery floss or safety eyes can be used for the eyes, while pink or red fabric paint adds a cute nose. Stuffing tools, like a bamboo skewer, help distribute stuffing evenly. For a baby-safe option, choose hypoallergenic stuffing. Ensure all materials are suitable for the intended recipient, especially if the bunny is for a child. Proper stuffing ensures your bunny is firm yet cuddly, with ears that retain their shape.
Step-by-Step Crochet Guide
Begin with the head and body, crocheting in a spiral. Create the long ears separately, then assemble by sewing all pieces together neatly for a cohesive finish.
Starting the Project: Head and Body
Begin by crocheting the head and body of the bunny in one piece using a magic circle or chain 2 method. Work in a spiral, increasing stitches gradually to form a rounded shape. Use a 3.5 mm crochet hook and soft, plush yarn for a cuddly texture. Ensure tight stitches to prevent stuffing from showing. Stuff the head and body firmly with polyester fiberfill as you go. Maintain even tension to achieve a smooth, professional finish. This foundational step sets the structure for attaching the ears, arms, and legs later in the pattern.
Crocheting the Long Ears
Crochet the long ears separately by creating flat, pointed oval shapes. Use a light grey yarn for the outer ears and pink for the inner details. Start with a magic circle or chain 2, working in a spiral. Use single crochet stitches, decreasing invisibly by working front loops only. Ensure the ears are symmetrical by crocheting two of each size. Sew the inner ears to the outer ones, then attach them to the top of the bunny’s head using a tapestry needle. Maintain even tension for a natural, floppy appearance. Stuff the ears lightly for shape, ensuring they remain soft and flexible.
Assembling the Bunny
Once all pieces are crocheted, use a tapestry needle to sew them together. Start by attaching the arms and legs to the body using a whip stitch. Ensure even spacing for a balanced look. Next, sew the long ears to the top of the head, positioning them slightly apart for a natural appearance. Use the same yarn to secure the tail at the back. Stuff the bunny firmly with polyester fiberfill before closing any openings. Use a 3.5mm crochet hook for precise stitching. Keep stitches small and even to maintain a polished finish. This step brings your adorable long-eared bunny to life!

Customization Tips
Personalize your bunny by changing yarn colors or adding accessories like ribbons. Adjust ear shapes and sizes for unique looks. Add embroidered eyes or a tiny nose for character, or dress it in crochet clothes for a personalized touch.
Adjusting Ear Size and Shape
Easily customize your bunny’s ears by modifying the crochet pattern. For longer ears, increase the number of rows or use a taller stitch count. To make them wider, add more stitches in the starting chain. For a floppier look, use a slightly larger hook size. If you prefer shorter ears, simply reduce the number of rows or use a smaller hook. Experimenting with different yarn weights can also affect the ear’s texture and shape, allowing you to achieve the perfect style for your bunny. This versatility makes each bunny uniquely yours.
Adding Personalized Details
Enhance your long-eared bunny with unique touches to make it truly special. Add a bow tie or a ribbon around the neck for a stylish look. Use embroidery floss to create eyes, whiskers, or a sweet smile. For a personalized gift, sew on a small name tag or a heartfelt message. Experiment with different yarn colors or textures to give your bunny a one-of-a-kind appearance. You can also add tiny accessories like flowers, hats, or scarves to match your bunny’s personality. These small details will make your crochet bunny a cherished and personalized creation.
- Use embroidery floss for facial features.
- Add a bow or ribbon for a stylish touch.
- Personalize with a name tag or message.
- Experiment with yarn colors and textures.
- Add accessories like flowers or hats.
Troubleshooting Common Mistakes
Ensure even stitching by checking tension and hook size. Reshape ears gently if they lose form, and use a tapestry needle to weave in loose ends neatly.
Fixing Uneven Stitches
Uneven stitches can occur due to inconsistent tension or incorrect hook size. To fix this, re-examine your stitches, ensuring each is evenly spaced and tension is consistent. If stitches appear loose, try tightening your yarn slightly. For too-tight stitches, loosen your grip. Use a tapestry needle to weave in ends neatly, avoiding bulk. Count stitches regularly to maintain pattern accuracy. If issues persist, consider switching to the recommended hook size or yarn weight for a more balanced fabric. Proper stitching ensures your bunny’s shape stays uniform and adorable.
Reshaping the Ears
Reshaping the ears is crucial for achieving the desired long-eared bunny look. After crocheting, dampen the ears with water and gently stretch them to the preferred length. Lay them flat to air dry, ensuring they retain their shape. For a natural flop, avoid over-stuffing the ears. If ears appear too stiff, lightly steam them with an iron (without touching the fabric) to relax the fibers. This method enhances flexibility and maintains the soft, floppy texture characteristic of the long-eared bunny design. Proper reshaping ensures your bunny’s ears are both elegant and endearing.
Downloading the Free PDF Pattern
Access the free long-eared bunny crochet pattern as a downloadable PDF file, available on platforms like Ravelry or Etsy. It’s a digital file, not a physical item, offering step-by-step instructions for your project.
Where to Find the Free PDF
Discover the free long-eared bunny crochet pattern on platforms like Ravelry, Etsy, and Pinterest. Many designers offer this PDF as a free download, perfect for personal use. Visit their websites or shops to find and download the pattern instantly. Ensure to check for ad-free and formatted versions for a seamless crocheting experience. These platforms host a variety of bunny patterns, making it easy to find the one that suits your skill level and creativity. Happy crocheting!
Printing and Using the Pattern
Once downloaded, print the PDF pattern on standard paper for easy reference. Ensure your printer settings are correct to maintain the layout and clarity. The pattern is designed to be reader-friendly, with clear instructions and visuals. Organize the pages in a binder or protective sleeves for convenience. Follow the step-by-step guide, starting with materials and tools, then progressing through each part of the bunny. Use the included photos as a reference for stitching and assembly. For the best results, read through the entire pattern before beginning your project. Happy crocheting your long-eared bunny!